


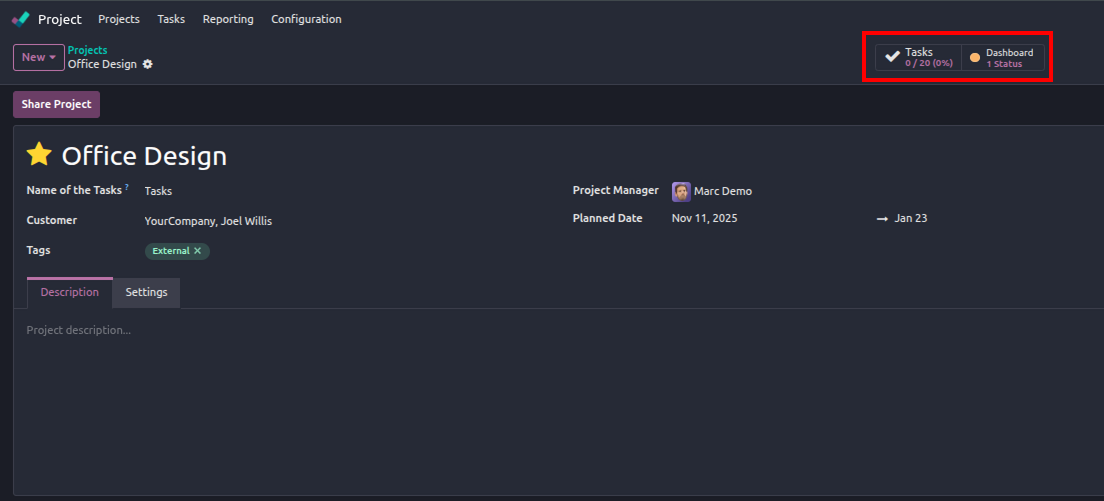
Smart buttons are those helpful clickable boxes you see at the top of Odoo forms that display counts and link to related records. Think of the "Sales Orders" button on a customer form or the "Invoices" button on a project. In this guide, we'll walk through creating your own custom smart button from scratch.
What You'll Build
We'll create a smart button that displays the number of tasks associated with a project and allows users to view those tasks with a single click.
Prerequisites
- Basic understanding of Odoo module structure
- Familiarity with Python and XML
- An Odoo development environment set up
Step 1: Define the Computed Field
Smart buttons need a field to display the count. Add this computed field to your model's Python file:
python
from odoo import models, fields, api

class ProjectProject(models.Model):
    _inherit = 'project.project'

    task_count = fields.Integer(
        string='Task Count',
        compute='_compute_task_count'
    )

    @api.depends('task_ids')
    def _compute_task_count(self):
        for record in self:
            record.task_count = len(record.task_ids)
Step 2: Create the Action Method
Add a method that defines what happens when users click the smart button:
def action_view_tasks(self):
    self.ensure_one()
    return {
        'type': 'ir.actions.act_window',
        'name': 'Tasks',
        'res_model': 'project.task',
        'view_mode': 'list,form',
        'domain': [('project_id', '=', self.id)],
        'context': {'default_project_id': self.id}
    }
This method returns an action dictionary that opens a list of tasks filtered by the current project. The context parameter pre-fills the project field when creating new tasks from this view.
Odoo 18 & 19 uses list instead of tree in view mode. Make sure to adjust according to your odoo version.
Step 3: Add the Smart Button to Your View
Now add the button to your form view's XML file:
<record id="view_project_form_inherit_smart_button" model="ir.ui.view">
    <field name="name">project.project.form.inherit</field>
    <field name="model">project.project</field>
    <field name="inherit_id" ref="project.edit_project"/>
    <field name="arch" type="xml">
        <xpath expr="//div[@name='button_box']" position="inside">
            <button class="oe_stat_button"
                    type="object"
                    name="action_view_tasks"
                    icon="fa-tasks">
                <field string="Tasks" name="task_count" widget="statinfo"/>
            </button>
        </xpath>
    </field>
</record>
Step 4: Update Your Module
Don't forget to declare your new XML file in __manifest__.py:
{
    'name': 'Custom Smart Button',
    'version': '1.0',
    'depends': ['project'],
    'data': [
        'views/project_views.xml',
    ],
}
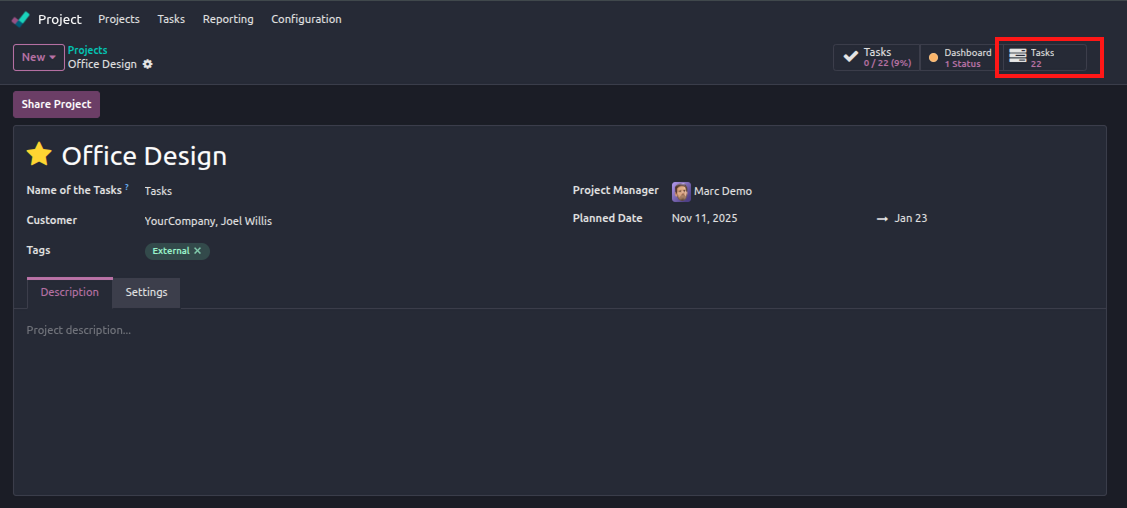
Step 5: Test Your Smart Button
Restart your Odoo server and update your module. Navigate to a project form, and you should see your new smart button displaying the task count. Click it to verify it opens the filtered task list.
Troubleshooting Tips
If your smart button isn't working, check these common issues:
- Ensure the button_box div exists in the parent view
- Verify your computed field is calculating correctly by checking the field value in the database
- Check the Odoo log for errors when clicking the button
- Make sure your module dependencies are correct
Conclusion
Smart buttons are a powerful way to improve navigation in Odoo and provide users with quick access to related information. The pattern we've covered here—computed field, action method, and XML button definition—can be applied to create smart buttons for virtually any relationship in your Odoo modules.
Once you've mastered the basics, you can explore more advanced features like opening specific views, applying complex domains, or even creating buttons that trigger wizards instead of opening record lists.