


Odoo is a powerful open-source ERP platform that allows developers to extend and customize its features through custom modules. Whether you want to add a new app, modify existing business logic, or enhance the user interface — Odoo makes it flexible and developer-friendly.
In this guide, we'll create a simple custom module in Odoo 17 — step by step. This tutorial is designed for beginners who want to understand the basics of Odoo module development, including the structure, files, and code you need to get started.
Step 1: Understand the Odoo Module Structure
Every Odoo module follows standard directory structure. In this custom_module includes:
| File | Purpose |
| __init__.py | Tells Python this is a package |
| __manifest__.py | Contains module info (name, version, dependencies) |
| models/ | Stores Python logic (database models) |
| views/ | Defines how your module looks (forms, menus, etc.) |
Step 2: Create the Manifest File
Inside this custom_module folder, create a file named manifest.py and add:
{
    'name': 'My Custom Module',
    'version': '17.0.1.',
    'summary': 'A simple custom module example for Odoo 17',
    'author': 'Your Name',
    'depends': ['base'],
    'data': [
        'views/my_model_view.xml',
    ],
    'installable': True,
    'application': True,
}
Step 3: Add a Simple Python Model
Create a new file 📁 models/my_model.py
This code defines two simple models — Product and Genre — to show how relationships work in Odoo. The Product model includes:
- name — product name
-
genre_ids — One2many field linking multiple genres
The Genre model includes:
- product_id — links each genre to a product
- name — genre name
- genre_id — an extra relation field for nested genre references
This example demonstrates how to use One2many and Many2one fields to connect data between models in Odoo 17.
from odoo import api, fields, models, _

class Product(models.Model):
    _name = 'custom.modul.product'
    _description = "Product"

    name = fields.Char(string="Product")
    genre_ids = fields.One2many('custom.modul.genre','product_id',string="genre")

class Type(models.Model) :
    _name = 'custom.modul.genre'

    product_id = fields.Many2one('custom.modul.product', string='product')
    name = fields.Char('name')
    genre_id = fields.Many2one('custom.module.genre.product', string='Genre')
And don’t forget to initialize your model in models/__init__.py:
from . import my_model
Step 4: Create a Basic XML View
Now let’s make it visible inside Odoo’s UI. 📁 views/my_model_view.xml
<odoo>
    <record id="product_tree_views" model="ir.ui.view">
        <field name="name">product.tree</field>
        <field name="model">custom.modul.product</field>
        <field name="arch" type="xml">
            <tree>
                 <field name="name"/>
            </tree>
        </field>
    </record>

     <record id="product_form_views" model="ir.ui.view">
        <field name="name">product.form</field>
        <field name="model">custom.modul.product</field>
        <field name="arch" type="xml">
            <form>
                <sheet>
                     <group>
                        <field name="name" string="Product"/>
                    </group>
                    <notebook>
                        <page string="Product Detail" name="product">
                            <field name="genre_ids" widget="section_and_note_one2many" mode="tree,kanban">
                                <tree string="Genre" editable="bottom">
                                    <field name="genre_id" />
                                    <field name="product_id" column_invisible="1"/>
                                </tree>
                            </field>
                        </page>
                    </notebook>
                </sheet>
            </form>
        </field>
    </record>
</odoo>
This XML code defines how the Product model is displayed in Odoo — both in list (tree) and form views.
- The tree view shows a simple list with the product’s name.
- The form view displays detailed product information, including its category and related genres.
Inside the form, there’s a notebook tab called “Product Detail” that contains a One2many field (genre_ids), showing all genres linked to the product. The editable="bottom" attribute lets users add or edit genres directly from the product form.
📂 Menu and Action Explanation
<record id="action_product" model="ir.actions.act_window">
        <field name="name">Product</field>
        <field name="res_model">custom.modul.product</field>
        <field name="view_mode">tree,form</field>
    </record>

    <menuitem id="product_menu_root"
        name="Custom"
        sequence="1000">

        <menuitem id="product_menu"
            name="Product"


    </menuitem>
    <menuitem id="product_menu_list"
                name="Product List"
                action="action_product"
                parent="product_menu"
                sequence="1"/>
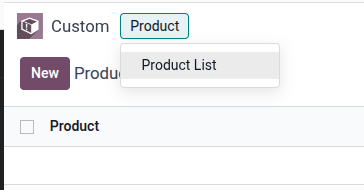
This XML section adds your custom menu items to the Odoo main menu.
- The ir.actions.act_window record (action_product) defines what happens when a user opens the Product menu — it loads the product list and form views.
- The menuitem records create a new top-level menu called “Custom”, a sub-menu called “Product”, and another submenu “Product List” that links to your action.
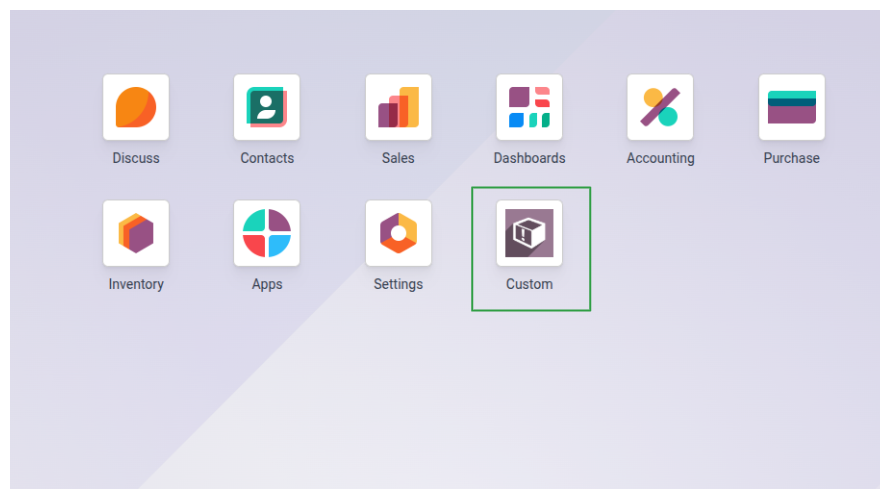
In short, this code makes your custom module visible in Odoo’s navigation bar, letting users easily access and manage product records.
Step 6: Install Your Module in Odoo
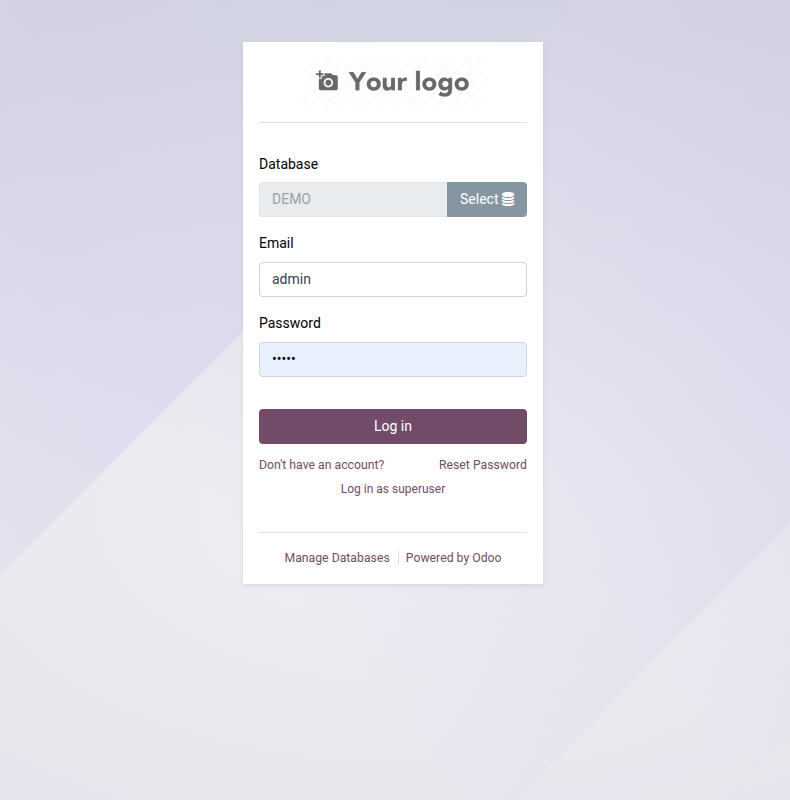
1. Log in to your Odoo 17
2. Go to Apps → Update App List
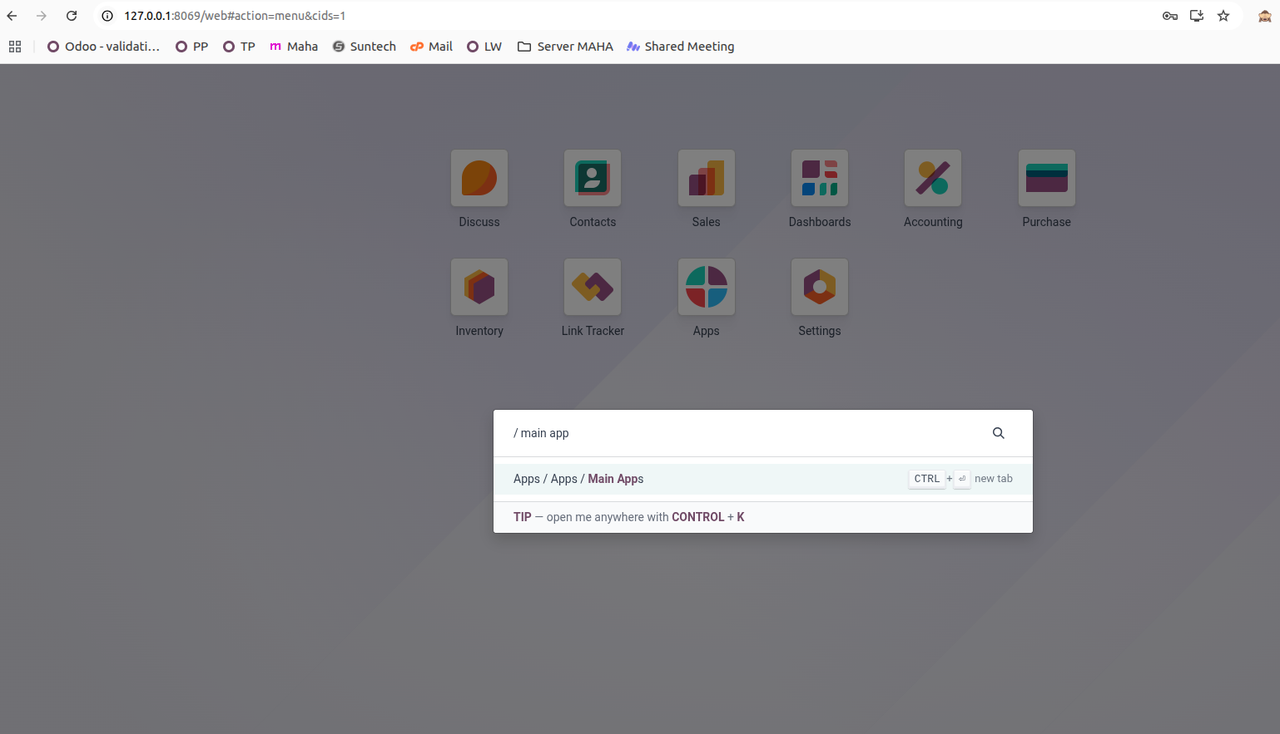 Make sure to activate the developer mode to show the update app list
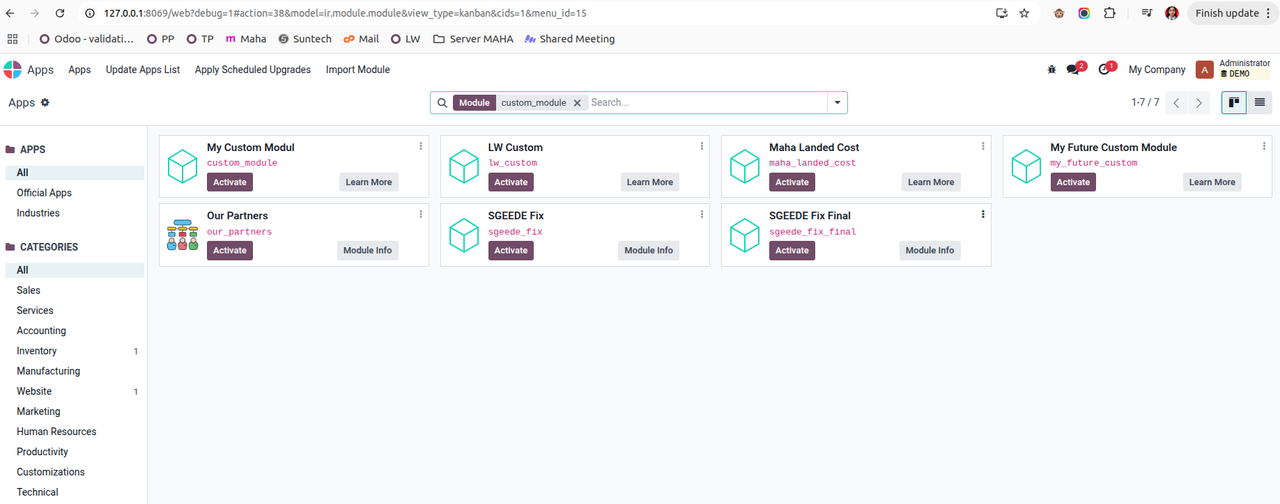
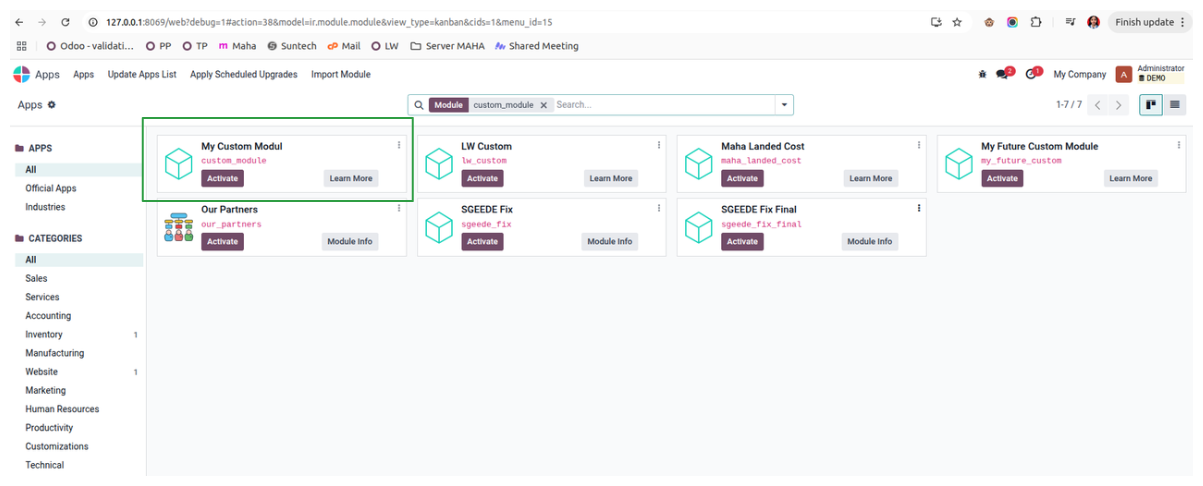
3. Search for “My First Custom Module”
4. Click Activate
🏁 Conclusion
Creating your first Odoo 17 module might seem intimidating, but once you understand the structure, it’s actually quite fun and logical. From defining your model to creating simple XML views, you now have a working foundation to build more complex features.Keep experimenting — add fields, customize menus, or connect your module to others. Every Odoo expert starts exactly where you are now 🚀